How to Set up Tailwind CSS in your React App.
Integrate Tailwind CSS in your React Application In 7 steps

I love learning and creating😊
In the world of web development, it is almost inevitable not to come across the terms React and Tailwind CSS.
So what is React?
React is a component-based JavaScript framework used to build web applications.
And Tailwind CSS?
Tailwind CSS is a CSS framework used to style web applications. It is important for styling robust web applications without having to write CSS from scratch or writing too many CSS codes. It saves time. The framework is class-based and utility-based.
In this article, I would walk you through the step-by-step process of setting up Tailwind CSS in React applications.
Prerequisites
- Basic knowledge of using the command-line interface.
- Basic knowledge of working with React and CSS.
Let's get into it.
Note: This tutorial uses Node Package Manager to install dependencies. In Case you are familiar with using other package managers like yarn you could replace the npm in the command to yarn.
Step 1 :
Create your React app with the command below.
The name of the app is 'tailwind-tutorial'. You can use whatever name you want.
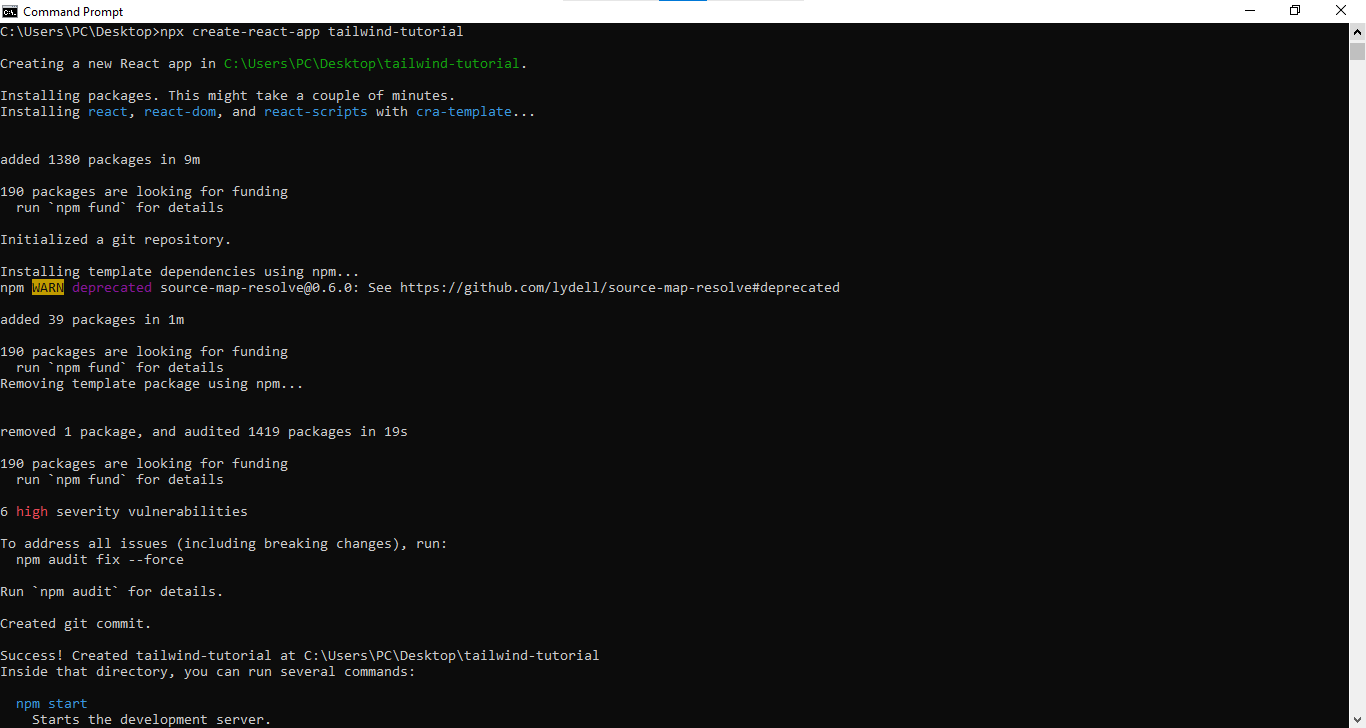
npx create-react-app tailwind-tutorial
You should see a message like this if you create the app successfully.
Step 2:
Navigate into the new project folder you just created. I.e.
cd tailwind-tutorial
Type the command npm start to launch the project on the browser.
npm start
Following the procedure above, you successfully created and launched the React app for building React applications. To use Tailwind CSS, we have to install it into the React app.
Step 3:
Enter this command to install Tailwind CSS
npm install -D tailwindcss postcss autoprefixer
You should see a success message and on opening your package.json file, you would see the Tailwind CSS dev dependencies.
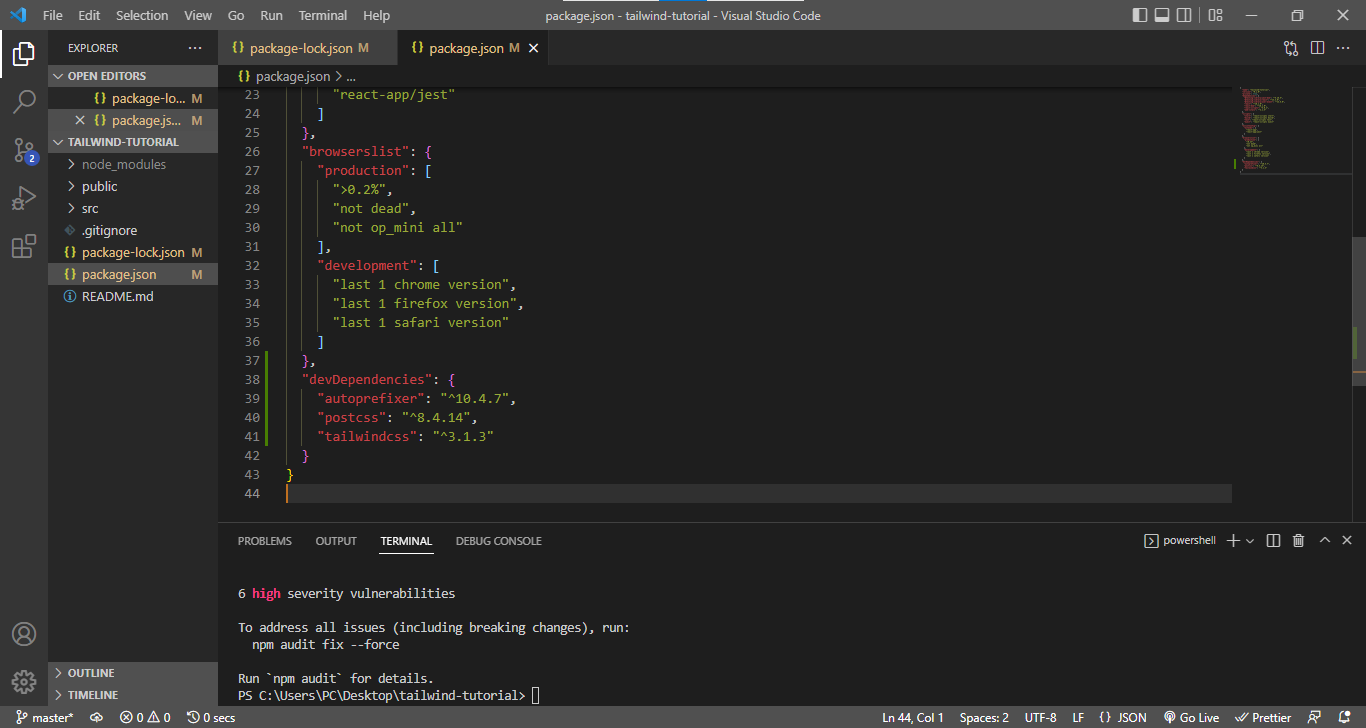 Here's mine.
Step 4:
npx tailwindcss init -p
This command creates a Tailwind CSS config file, tailwind.config.js and PostCSS config file postcss.config.js.
The tailwind config file is for configuring your CSS to suit what you want to achieve. Basically, to customize your CSS. Read more about it here
Step 5:
Configure all file paths that contains any tailwind CSS classes inside them in the content section inside tailwind.config.js file.
E.g. Below, I have configured my index.html file and App.js files path here because I would add eventually add tailwind classes inside those files.
module.exports = {
  content: ["./src/App.js", "./public/index.html"],
  theme: {
    extend: {},
  },
  plugins: [],
};
This step is very important, as it helps the styles applied through Tailwind CSS classes to be visible on the browser.
Step 6:
In the index.css file inside the src folder of the react app created, paste the following code.
@tailwind base;
@tailwind components;
@tailwind utilities;
The code above is an important component in Tailwind CSS.
Following these steps, you have successfully integrated tailwind CSS into your react app.
To test it, paste the code below into your App.js file and see how the styles are applied.
<h1 className="text-white font-bold text-center text-4xl capitalize">
          Hello World! Here is A Tutorial on how to Integrate tailwindcss to
          React applications
 </h1>
Step 7:
Run an optimized production build process on the app and check the result on your browser.
npm run build
The result on my end 😊

Conclusion
There we have it, friends! We integrated Tailwind CSS into our React application triumphantly🎉.
For more resources on how to use Tailwind CSS, check out the Tailwind CSS documentation.
PS: In case you have a better way of going about this, I'm open to learning. Share with me. Thank you for reading.
Connect with me on twitter.

